Thursday, March 8, 2012
slow cooker easy pesto meatballs
Something strange happened tonight. The family sat down at the dinner table together and we all ate the same meal. This was a dream come true moment for me. There were no substitutes, no modifications, and no deconstructed versions. Best of all no gripes, complaints or food struggles. Meatballs are a new food for my kids. Meatballs in my mind are a gateway food. Once we tackle meatballs the door to meatloaf and hamburgers open up. We need to continue to love the meatball. These meatballs are super simple and even though pesto is in the name of the recipe the pesto flavor is very mild. The pesto adds nice flavor and a softness to the texture of the meatball. The first night we had the meatballs over pasta and the second night we made meatball slides. A simple healthy meal made in the slow cooker that the whole family will eat is a definite repeater.
slow cooker easy pesto meatballs
source: slow cooker revolution
1 pound ground turkey
2/3 cup plain bread crumbs
2/3 cup fresh pesto
1/4 cup grated Parmesan
1 egg yolk
2 (24oz) tomato sauce (Bertolli tomato and basil)
1/2 cup water
salt and pepper
Mix turkey through egg yolk in a large bowl using your hands. Using a cookie scoop pinch off and roll mixture into 1 1/2 inch balls. Microwave meatballs on a large plate for 5 minutes until firm and fat is rendered.
Add tomato sauce and water into slow cooker and mix. Drain the rendered fat and nestle the meatballs into the sauce in the slow cooker. Cover and cook on low for 4 to 6 hours. Season with salt and pepper and serve.
Monday, March 5, 2012
chocolate chip coffee muffins
Am I the only person that goes to bed thinking about coffee? I absolutely love my morning cup of coffee. I know I like the caffeine but, I think I just love the morning ritual. Enjoying my steaming cup of coffee on the couch in the morning waiting for my sleepy eyed kids to roll out of their rooms. A snuggle with their warm little bodies and a glimpse of their crazy bedhead gets my morning started. After the kids wiggle free from my arms they always exclaim "mommy's coffee is yucky!" I totally disagree with this statement. I remember thinking coffee was gross until my freshman year of college when a heavy of the chocolate light on coffee mocha started to appeal to me. Up until then I never had coffee but, I loved coffee ice cream. With this nugget of information I decided to make these chocolate chip coffee muffins. Making bigger batches of food these days are helping out tremendously as the kids schedules begin to fill up. Both kids loved these moist muffins. The coffee flavor is present but, not over powering. will be making these again because there is nothing wrong with a cup of coffee and a chocolate chip coffee muffin.
chocolate chip coffee muffins
source: cooking light
2/3 cup whole milk
5 tablespoons butter, melted
3 tablespoons instant decaf coffee granules
1 1/2 teaspoons vanilla extract
1 large egg, lightly beaten
9 ounces all-purpose flour (about 2 cups)
2/3 cup sugar
1/2 cup semisweet chocolate chips
2 teaspoons baking powder
1/4 teaspoon salt
Preheat oven to 400°.
Combine first 5 ingredients.
Lightly spoon flour into dry measuring cups; level with a knife. Combine flour and next 4 ingredients (through salt) in a large bowl; stir well with a whisk. Make a well in center of flour mixture. Add milk mixture to flour mixture; stir just until moist.
Spoon batter into 12 muffin cups lined with wrappers. Bake at 400° for 18 minutes or until done. Remove muffins from pan immediately; place on a wire rack.
Monday, February 27, 2012
mint chocolate chex treats
I am a nut about a lot of random things. In my kitchen I am neurotic about not wasting food and keeping a clean refrigerator and pantry. I do not like half eaten packages of food to sit around and rot. During a bit of spring cleaning in the kitchen I discovered a bunch of partially used holiday baking products. The chocolate mint combination will not translate in the spring so, I threw chocolate chex cereal, chocolate mint marshmallows and mint truffle kisses together. I was really skeptical of the results when I started to melt the mint marshmallows and the mixture had a grey tone. Grey food is really unappetizing. Once the marshmallows were mixed with the cereal and kisses the grey tone was replaced and things were looking up. We were on our way to Mammoth for the week and because I was put off by the grey tone I almost left these treats at home. Bringing them was a smart decision because they were gobbled up by the adults. The kids thought the mint flavor was too prominent. My type A behavior paid off. Tasty, simple no bake treats and a cleaner pantry which is a win all around.
mint chocolate chex treats
source: sweetflours
3 tablespoons unsalted butter
10.5 ounce bag chocolate mint jet puffed marshmallows
4 cups chocolate chex cereal
2 cups cocoa krispies
2 cups mint truffle Hershey kisses; chopped
Melt butter in large saucepan over low heat. Add mint marshmallows and stir until completely melted. Remove from heat.
Add chex cereal. Stir until well coated. Add chopped mint truffle Hershey kisses and stir until pieces are incorporated.
Using a buttered spatula press mixture evenly into 13 x 9 x 2-inch pan coated with cooking spray. Cut into 2-inch squares when cool.
Monday, February 20, 2012
kid's candy cookies
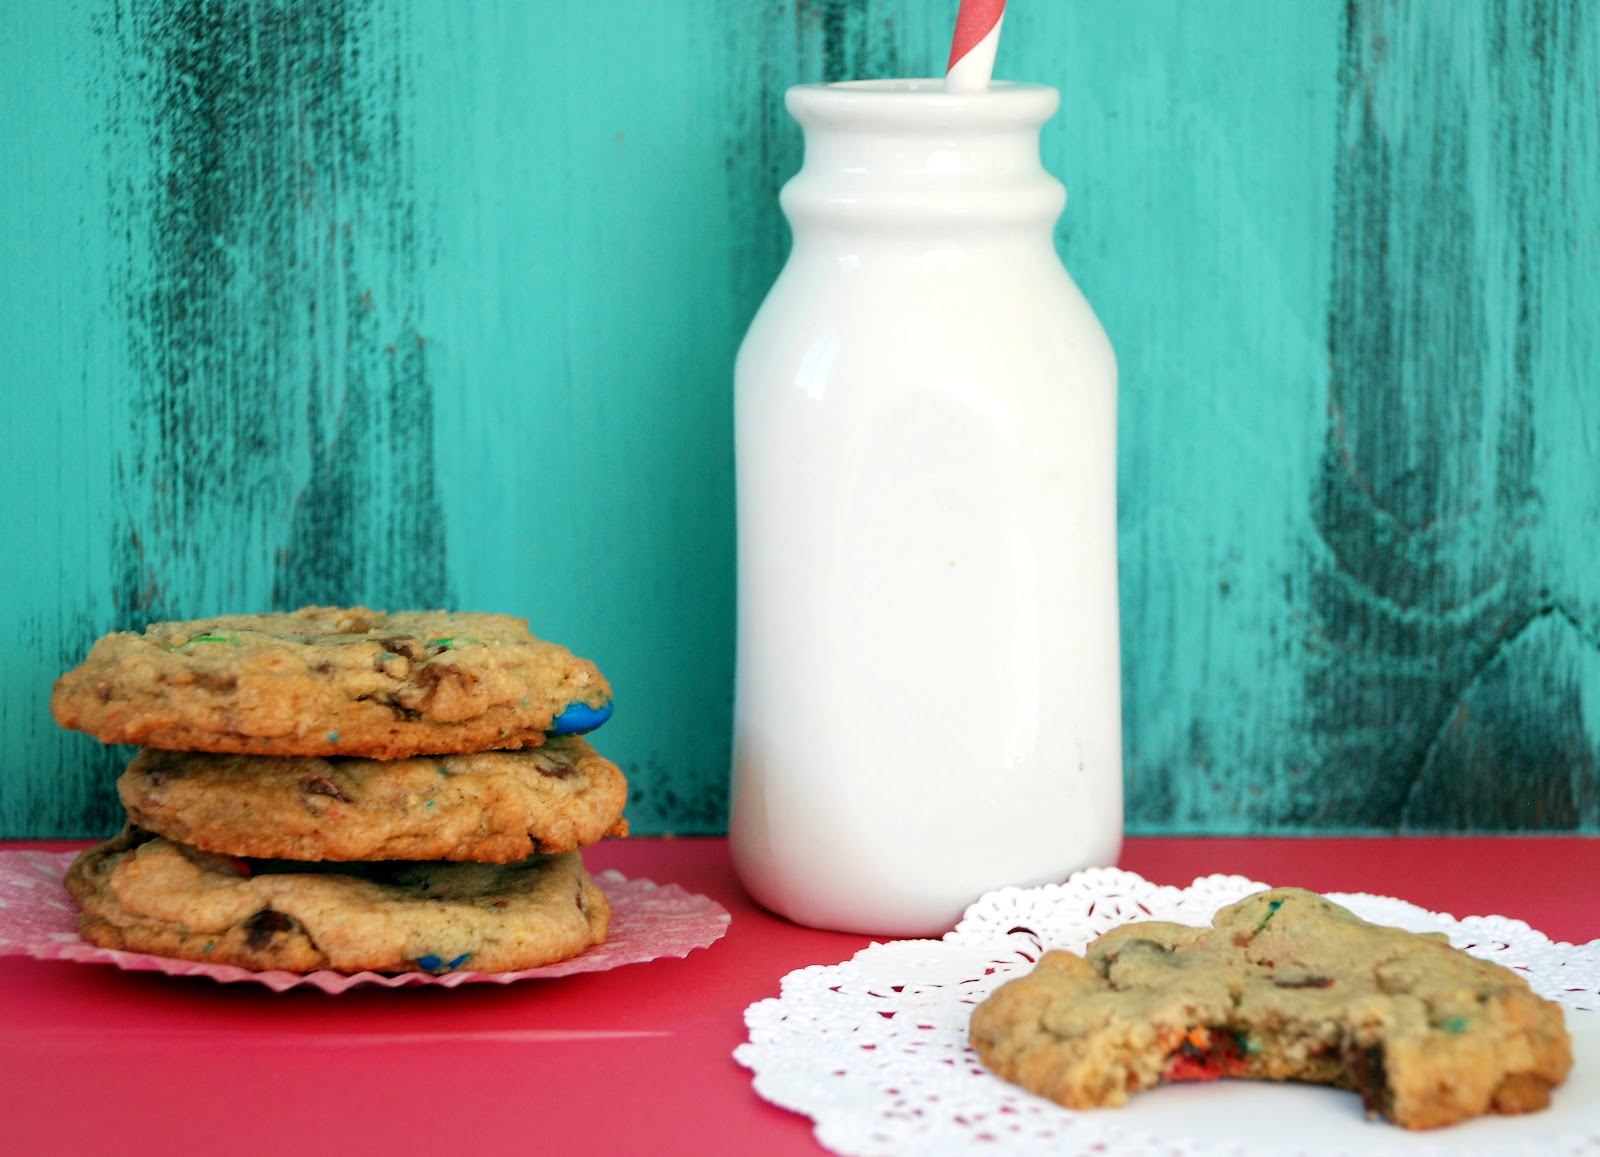
I realized something last week. It kinda broke my heart. I became aware during the lead up to Valentine's Day that some day my sweet boy is not always going to want me as his Valentine. During pick up I noticed that the door was decorated with hearts. Each kid had to explain what love was. Carter nailed it with "love is hugs from my mom". I mean come on he stole my heart. Then I started to glance through the other responses and there it was. A heart with "love is CARTER". A girl with a crush on Carter. what ?!? A very cute, sweet little girl. Of course the minute we got in the car I started in with 20 questions. I got nowhere. He got embarrassed and flustered and just did not want to discuss said crush. My spot in the world felt jeopardized. So I did what any good mom would do and came home and baked up some cookies with all sorts of his favorite candies to solidify my place in his heart for a little longer. We snuggled in our breakfast nook snacking on cookies and milk and the whole world felt right again.
kid's candy cookies
adapted: food network magazine
ingredients
2 1/4 cups all-purpose flour
1 teaspoon baking soda
2 sticks unsalted butter, at room temperature
1 cup packed light brown sugar
1/2 cup granulated sugar
1 teaspoon salt
1 tablespoon vanilla extract
1 large egg plus 1 egg yolk
1 cup pretzel m&m's
1/2 cup semi sweet chocolate chunks or chips ~3 ounces
1/2 cup toffee pieces
3/4 cup peanut butter chips
directions
Preheat the oven to 350 degrees F. Line 2 baking sheets with silpat sheets or parchment. Whisk the flour and baking soda in a bowl.
In a stand mixer fitted with the paddle attachment, cream the butter, brown sugar and granulated sugar on low speed until incorporated, then increase to high speed and beat until light and fluffy.
Add the salt, vanilla, whole egg and egg yolk to the mixer; beat until thoroughly combined. Add the m&m's and beat for a few seconds until slightly crushed. Gradually add the flour mixture, mixing on low speed until just combined. Mix in the chocolate, toffee pieces and peanut butter chips.
Roll heaping tablespoonfuls of dough into balls and place on the prepared baking sheets, about 2 inches apart. Slightly flatten each ball.
Bake the cookies until the edges are golden brown and the centers are no longer wet, 11 to 13 minutes. Cool on the baking sheets for a few minutes, then transfer to a rack to cool completely.
Monday, February 13, 2012
buttermilk pancakes
The Secret Recipe Club is back for the first cycle of 2012. I was assigned the blog eggs milk and honey. The blog is written by Heather an American mother of four living in England. Her blog is filled with delicious family friendly recipes with glimpses of her family life in England. My motivation to replace processed food in our house this year without total household revolt has not dropped. I have successfully tackled and replaced the breakfast bars. When I read through Heathers blog I came across a recipe for buttermilk pancakes. This was a perfect opportunity to give bisquick the boot from my cupboard. I have to be honest I am not a pancake person. I like a bite but, I am much more and eggs and bacon girl. My kids and husband however, request pancakes at least once a week. I pull out the bisquick do a quick mix and pancakes are on the table. There are always a few left so, I freeze them to pop in the toaster later in the week. This Saturday I changed things up with Heather's recipe which is not much harder then bisquick but, tastes so much better then bisquick. They are light and fluffy with the perfect tang from the buttermilk. There was not a single cake left. My daughter even ate the little crunchy pieces that end up on the griddle. I knew this was going to replace my bisquick box once and for all so, I mixed up a few mason jars of the dry ingredients so, I can quickly pull them out and mix up a batch of perfect buttermilk pancakes.
buttermilk pancakes
source: eggs milk and honey
Ingredients
1 cup flour
2 teaspoons sugar
1/2 teaspoon salt
1/2 teaspoon baking powder
1/4 teaspoon baking soda
3/4 cup buttermilk
1/4 cup whole milk
1 large egg, separated
2 tablespoons butter, melted
Whisk together all the dry ingredients in a medium-sized bowl. Combine buttermilk and milk into small bowl. Whisk egg white into mixture. Mix yolk with melted butter in separate bowl. Then stir into milk mixture. Dump wet ingredients into dry ingredients all at once; whisk until just mixed.
Once the griddle or pan is hot enough, pour 1/4 cup of batter onto a lightly oiled or buttered surface. When the pancake surface starts to bubble and the bottom is lightly browned, turn over. It should take a couple of minutes. Cook until remaining side has browned.
Monday, February 6, 2012
banana pudding pops
The kids are still asking for popsicles every day. You may be thinking popsicles in February what is wrong with this girl. The weather here is unseasonably warm this winter. The past two weekends we have spent at the beach. My kids are wearing SPF 50 and I actually have a little sunburn on my back. Crazy but, incredibly amazing. The kids loved the orange pudding pops but, in my effort to reduce the processed food I looked for another way to achieve a pudding pop with out pudding mix and cool whip. They may have actually liked these even more which is a win for all of us. Perfect southern California winter treat for an afternoon snack or dessert.
banana pudding pop
adapted: eating well
ingredients
1/3 cup light brown sugar
2 tablespoons cornstarch
pinch of salt
2 cups milk
2 teaspoons vanilla extract
2 cups diced bananas, (~ 2 large)
6 ounces greek honey yogurt
10 animal cookies or nilla wafers crushed into small pieces
Whisk sugar, cornstarch and salt in a large saucepan. Add milk and whisk until combined. Bring to a boil over medium heat, whisking occasionally. Boil, whisking constantly, for 1 minute. Remove from the heat and stir in vanilla. Allow mixture to cool slightly.
Put about the pudding in a blender and add bananas and yogurt. Process until smooth. Stir the crushed cookies into the pudding mixture. Divide the mixture among freezer-pop molds. Freeze until firm ~6 hours.
Monday, January 30, 2012
yellow butter cake with chocolate frosting
So, you know how I have been talking about reducing the processed food and sugar in my house? Well that new mantra is cool and all except when it comes to birthdays. I am working on introducing new healthy replacements for many of our sugary snacks and treats but, even I am not at a place where I want to enjoy an agave sweetened gluten free oat cake on my birthday. Maybe in 2013 but, for now we will just celebrate old school with a yellow butter cake and chocolate frosting. This cake is a classic that I am not prepared to screw with at this point. I am not going to lie I have a better yellow cake recipe but, it is super involved and this recipe is simple straight forward and most likely have all the ingredients already in your kitchen. The frosting is down right delicious and so, easy. This is my go to chocolate fudge frosting. Did you know you can make super good frosting in the food processor? Well you can and you don't even have to sift. So if you are looking for a simple yet, delicious and decadent cake for your next gathering this classic may be the way to go.
yellow butter cake with chocolate frosting
cake adapted: martha stewart
frosting source: sky high cakes
Cake:
2 sticks (1 cup) unsalted butter, at room temperature
1½ cups all-purpose flour
1½ cups cake flour
1 tablespoon baking powder
½ teaspoon salt
1¾ cups sugar
4 large eggs
2 teaspoon vanilla extract
1¼ cups milk
Frosting:
6 ounces unsweetened chocolate, melted and cooled
4 1/2 cups confectioners’ sugar (no need to sift)
3 sticks (12 ounces) unsalted butter, at room temperature
6 tablespoons whole milk
1 tablespoon vanilla extract
Directions: To make the cakes, preheat the oven to 350˚ F. Prepare two 9-inch round cake pans with bakers joy. In a medium bowl, sift the all-purpose flour, cake flour, baking powder, and salt; whisk together to blend well and set aside.
In the bowl of an electric mixer, combine the butter and sugar. Beat on medium-high speed until light and fluffy, about 4 minutes, scraping down the bowl as needed. Mix in the eggs one at a time, beating well after each addition. Blend in the vanilla. With the mixer on low speed, add in the dry ingredients in three additions, alternating with the milk. Beat each addition just until incorporated.
Divide the batter between the prepared baking pans. Bake, rotating the pans halfway through baking, until the cakes are golden and a toothpick inserted in the center comes out clean, 30-35 minutes. Transfer the pans to a wire rack and let cool 20 minutes. Run a knife around the edge of the pans to help remove the cakes. Invert the cakes onto the rack. Let the cakes cool completely before frosting. Level the cakes if necessary.
To make the frosting, place all of the ingredients in a food processor and pulse to incorporate, then process until the frosting is smooth.
To assemble the cake, place one of the cake layers on a serving platter. Top with 1 cup of the chocolate frosting and smooth over the top of the cake. Top with the remaining cake layer. Frost the top and sides of the cake with the remaining frosting as desired. Refrigerate, covered, for up to 3 days. Let come to room temperature at least 30 minutes before serving.
Subscribe to:
Posts (Atom)